Building the NSW North Coast Line in Open Rails
“Every journey starts with the first piece of track.”
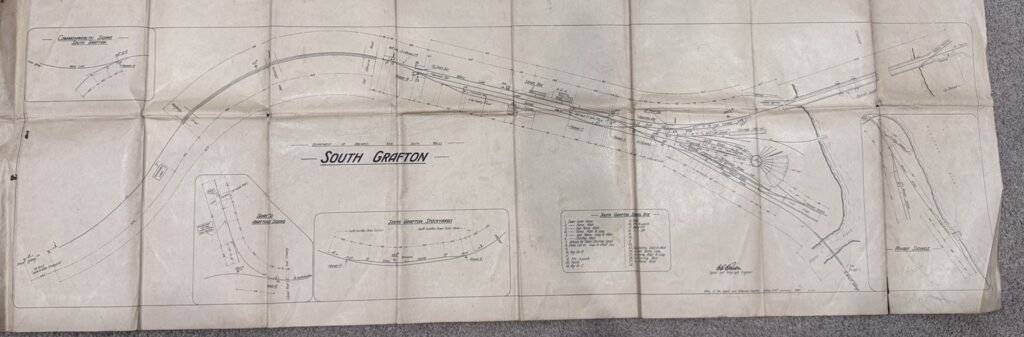
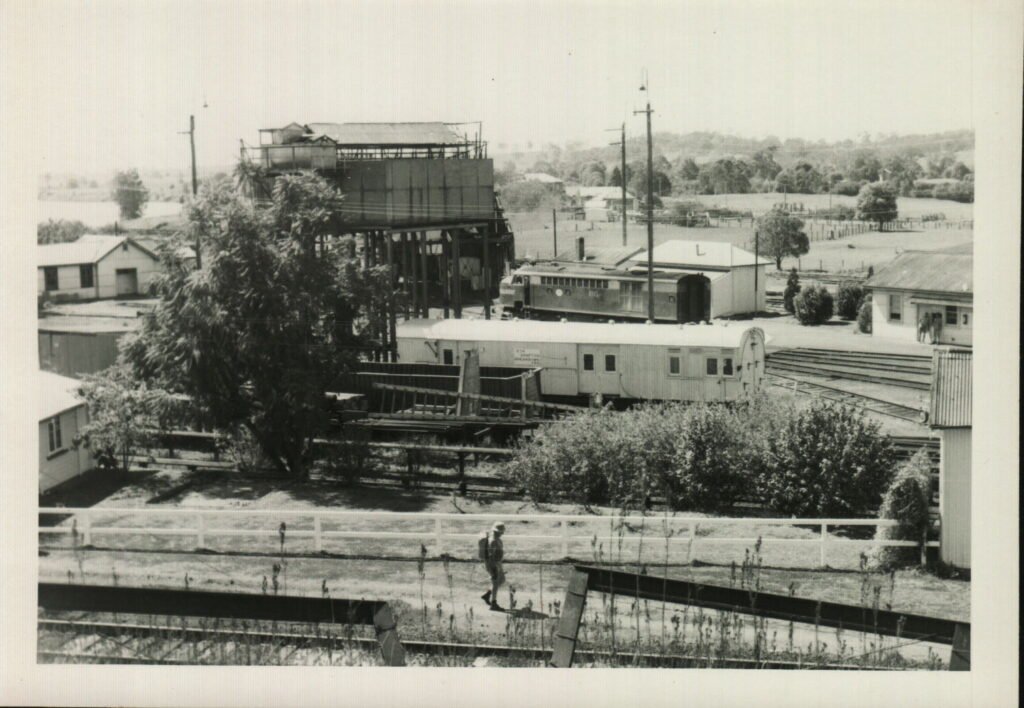
After collecting locomotives, routes, diagrams and reference material, it was finally time to shift gears from researching and start building route.
Creating the route itself was almost anticlimactic.
One click in TSRE5.
A route name.
A blank world.
An empty canvas waiting to become one of Australia’s most iconic railway lines.
The plan was simple.
Recreate the North Coast Line as it existed during the 1970s, beginning with South Grafton before eventually extending north to Casino and south to Coffs Harbour.
At least…
That was the plan.
The First Piece of Track
Like every new route builder, I spent far longer placing the first few sections of rail than I care to admit.
Every curve was checked against satellite imagery.
Every alignment compared with historical aerial photographs.
Every slight adjustment made with the hope that it looked just a little closer to the prototype.
Eventually something interesting happened.
It stopped looking like individual pieces of track.
It started looking like a railway.
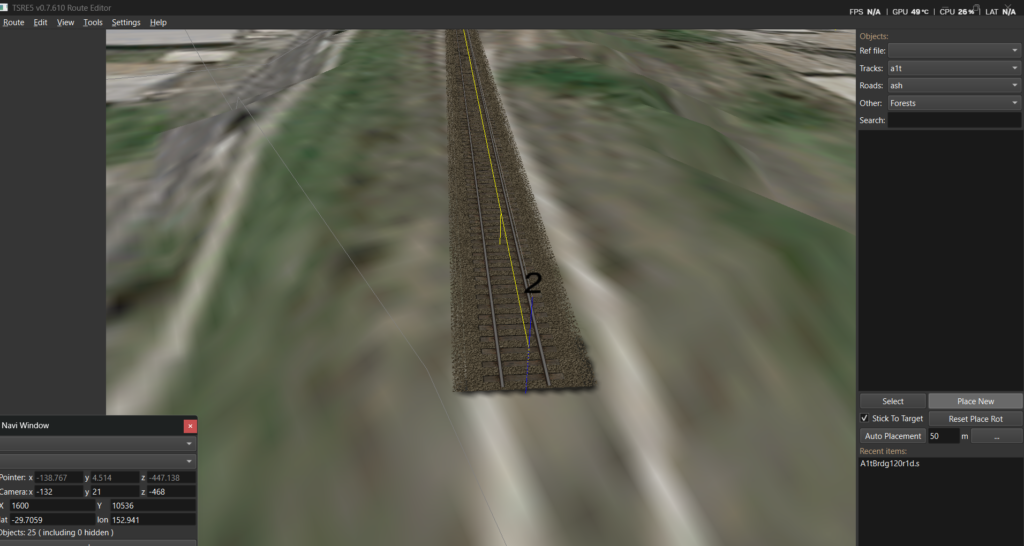
The first section of main line.
Learning How TSRE Thinks
Coming from modern editors like Unreal Engine, TSRE requires a completely different mindset.
The software isn’t trying to be clever.
It expects you to understand how railway infrastructure is constructed.
Many of the things I initially assumed were bugs were simply the editor working exactly as intended.
That first week became less about laying track and more about learning how TSRE itself worked.
Some discoveries were obvious.
Others took several hours to uncover.
REF Files… and Why Nothing Appeared
One of my first problems involved scenery.
I’d successfully imported bridges, stations and structures into the route.
Except…
Nothing appeared in the object list.
After chasing missing models and checking file paths, the real culprit turned out to be the REF file itself.
Extra blank lines and inconsistent formatting were preventing TSRE from reading entire sections of the object database. (more then one line between objects as well as indenting the entries)
Correcting the formatting immediately restored hundreds of scenery objects.
A surprisingly small mistake with surprisingly large consequences.
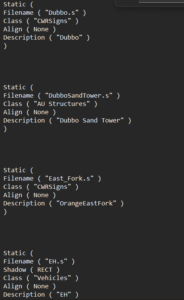
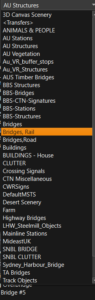
incorrect ref file formatting and Bridge objects finally appearing in the scenery list.
Pink Bridges and Missing Textures
The next surprise arrived in fluorescent magenta.
The bridge itself loaded correctly.
The textures didn’t.
Fortunately the solution turned out to be much simpler than expected.
The required ACE textures were sitting inside the XTracks archive but had never been copied into the correct Global texture folder.
One missing file transformed an almost unusable model into a perfectly acceptable placeholder bridge.
It won’t remain there forever.
One day I’d love to model the original South Grafton timber bridge myself.
For now, though, it serves as the perfect reminder that progress is more important than perfection.
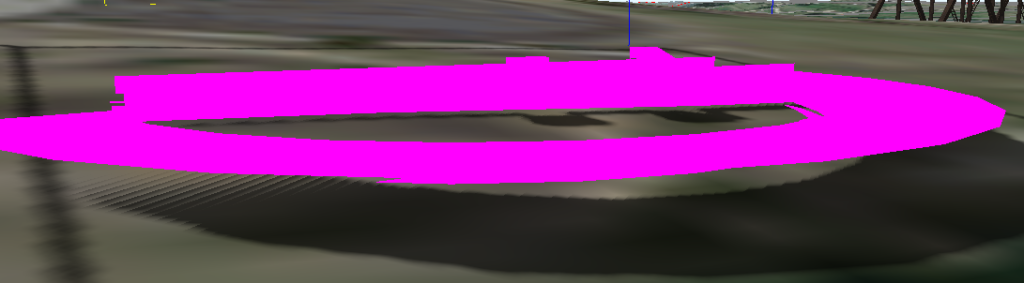
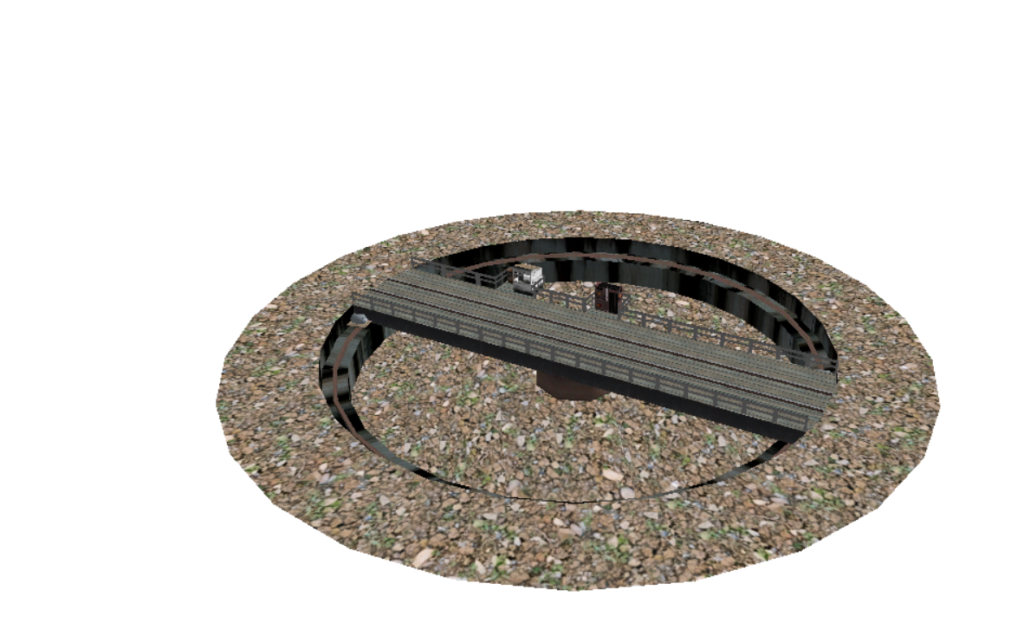
Before and after fixing the missing bridge textures.
My First Drive
There is something strangely satisfying about driving over track you’ve just laid yourself.
After solving a few startup issues and persuading Open Rails to cooperate, I finally loaded the route.
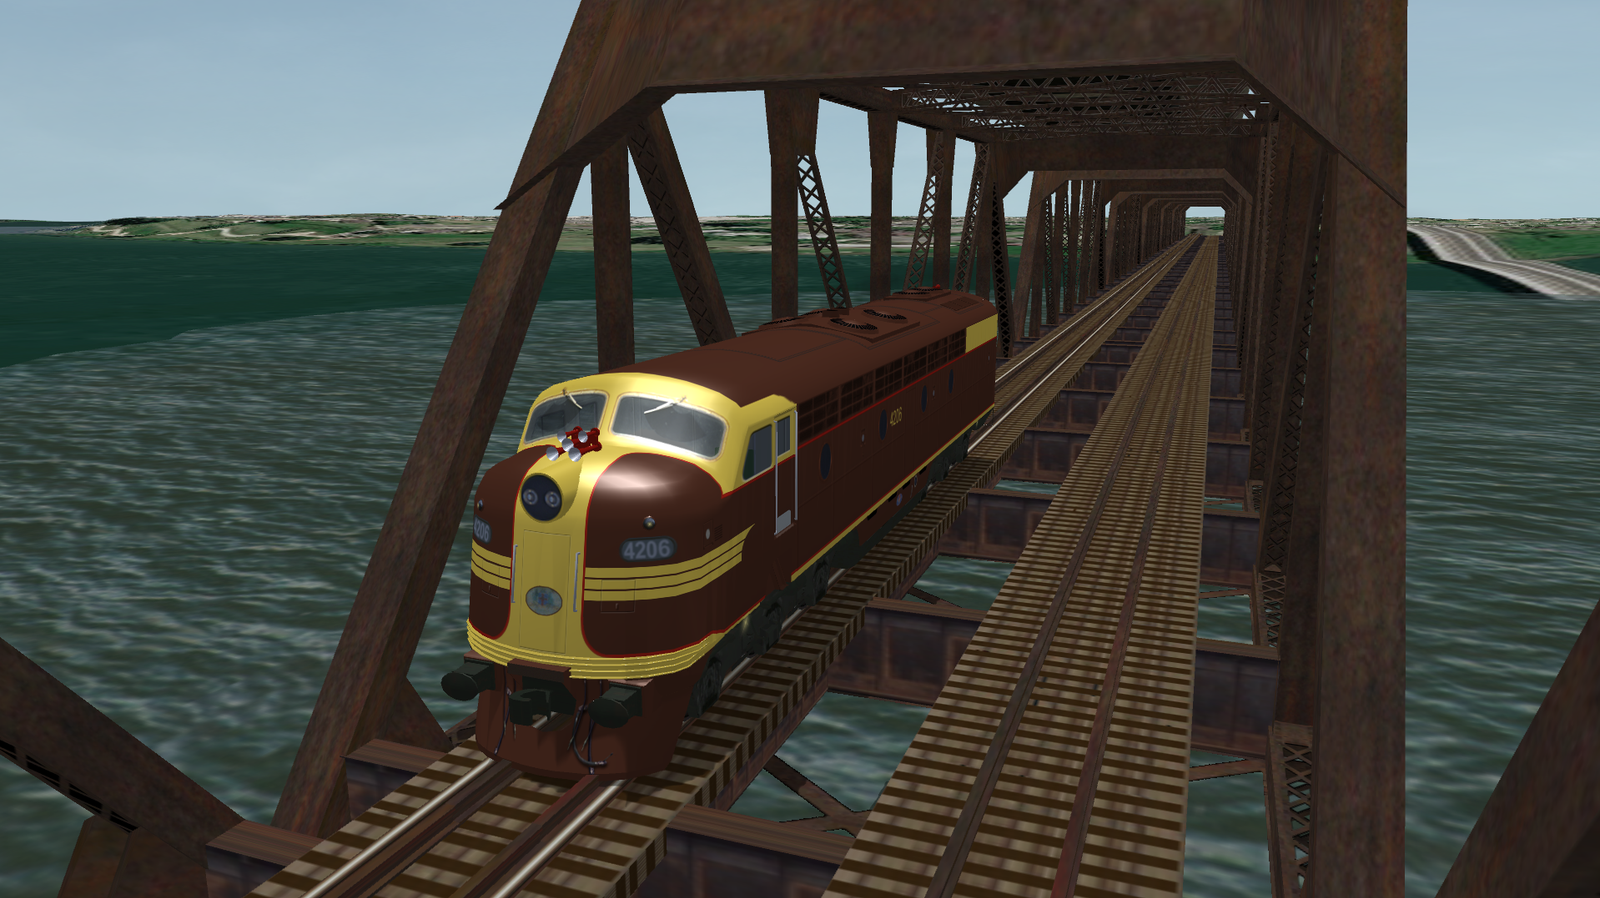
4206 rolled slowly across the Clarence River bridge.
For the first time, I wasn’t driving somebody else’s railway.
I was driving mine.
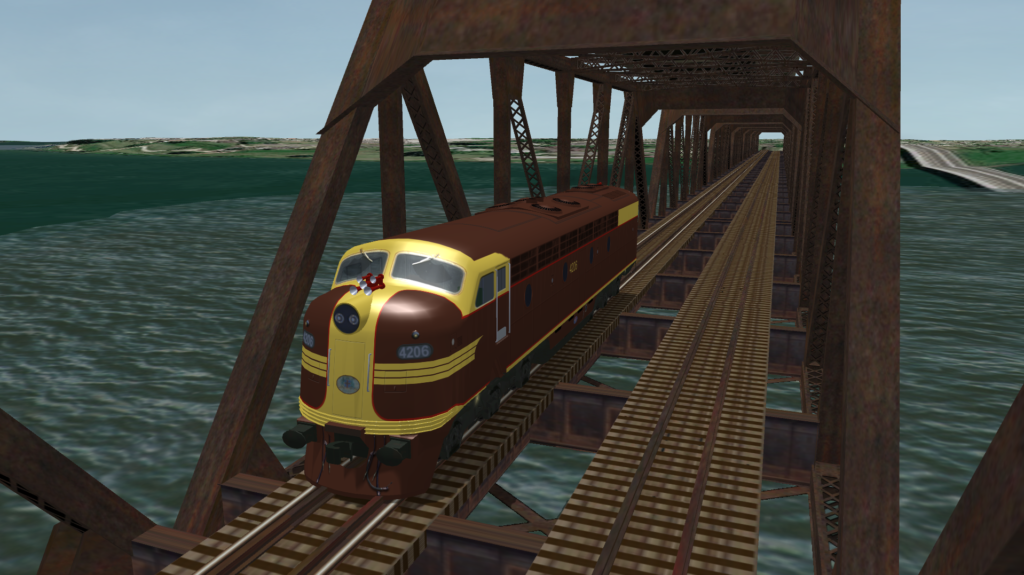
4206 crossing the Clarence River.
Then Everything Broke…
Of course it did.
Experimenting with TSRE’s distant terrain tools seemed harmless enough.
The next time I opened the editor, it loaded to a completely white screen before crashing.
After a considerable amount of head scratching, the solution turned out to be a tiny file called:
cerecent.txtDeleting it immediately restored the route.
The project wasn’t damaged at all.
TSRE had simply remembered an invalid editor state.
One tiny text file nearly convinced me that a week of work had disappeared.
Open Rails Had One More Lesson
Not long afterwards Open Rails refused to load the route altogether.
Instead it greeted me with:
Player train original position not clear
Naturally I blamed the platform.
Then the activities.
Then the paths.
The real problem was something far less obvious.
A tiny piece of abandoned track hidden beneath the river.
Deleting that single rogue section immediately solved the issue.
It’s a reminder that Open Rails is remarkably good at finding mistakes, even when they’re buried out of sight.
Discoveries Worth Writing Down
One of the reasons I decided to keep this journal is because the small discoveries often end up being the most valuable.
Some of the shortcuts and quirks I’ve discovered during the first week include:
- X flips the direction of curved track pieces while placing them.
- R combined with the numeric keypad adjusts rotation and elevation while placing track.
- Z removes selected track from the Track Database (TDB), allowing adjustments before committing it back into the route.
- Existing track can sometimes be regraded by temporarily removing it from the TDB, making the adjustment, then reconnecting it.
- F applies the embankment editing setting for selected track.
- The embankment settings are not an “Apply” button. They define how the terrain tool behaves while shaping around selected track.
- REF files are extremely sensitive to formatting. Something as simple as extra blank lines can prevent scenery categories from loading.
- Missing ACE textures generally mean the model exists, but one or more texture files are missing.
- A single hidden section of track can prevent Open Rails from spawning a player train.
- If TSRE suddenly opens to a white screen before crashing, check
cerecent.txtbefore assuming the route has been corrupted.
These aren’t things I’d found in the manuals.
They’re simply lessons learned through trial, error and a healthy amount of persistence.
Building the Railway… Not the Terrain
Another lesson surprised me.
Initially I assumed I should make the railway follow Google’s terrain.
In reality, that’s the opposite of how railways are built.
The engineers build the railway first.
Then they shape the landscape around it.
That has become my philosophy for this project.
Lay the railway accurately.
Then build the embankments, cuttings and surrounding landscape afterwards.
The embankment tool has already proven surprisingly useful.
My current settings are:
Size:         2
Embankment:   5–8
Cutting:      2–5
Max Radius:   10–20
They’re still very much a work in progress, but they’re producing a natural looking profile that suits the North Coast surprisingly well.
The Line Bug
Originally I intended to build South Grafton station.
Instead…
I kept laying track.
The next curve looked interesting.
Then the next.
Before long I found myself extending the main line south exactly as it followed the real railway.
I think every route builder eventually catches what I’d call the line bug.
The temptation to see just one more kilometre complete is incredibly difficult to resist.
The sensible part of my brain knows I should probably stop soon and build North Grafton yard.
The other part keeps saying…
“Just one more section…”
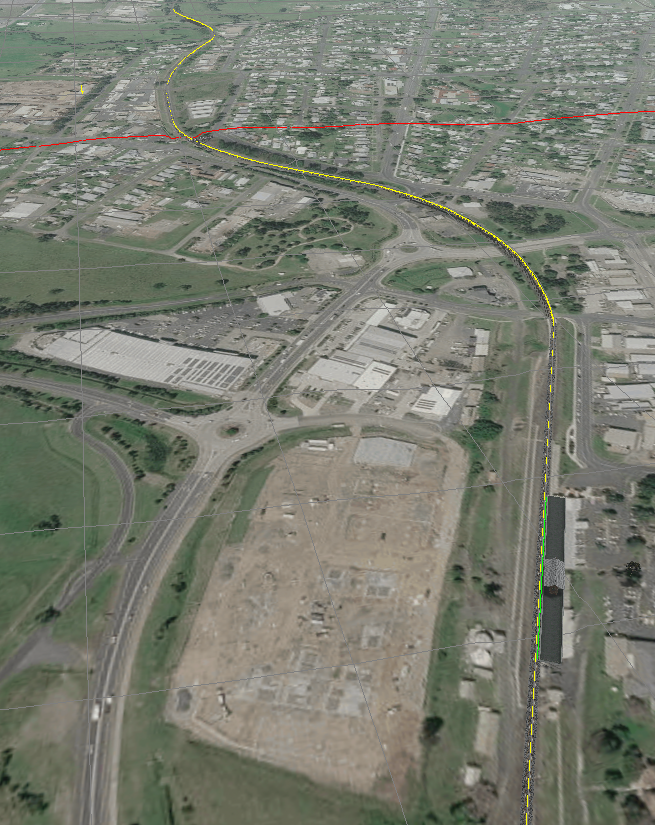
Current route progress showing the line extending south from South Grafton.
Looking Ahead
The next milestone is clear.
Connect South Grafton to Grafton.
Build the North Grafton yard.
Recreate Grafton station.
Only then will I return to fill in the countless details that bring a railway to life.
This project isn’t going to be finished in weeks.
Probably not even months.
But every piece of rail, every historical photograph, every recovered diagram and every solved problem moves it one step closer.
For the first time, I can finally see it taking shape.
Current Progress
✅ Route created in TSRE5
✅ Open Rails route operational
✅ South Grafton station under construction
✅ Clarence River bridge placed
✅ Main line following the prototype alignment
✅ Original NSWGR diagrams collected and digitised
✅ First successful drive with 4206
✅ First embankments beginning to shape the landscape
Next Journal
Developer Journal #2 | North Grafton: Building the Yard That Disappeared